


When you integrate WINS and DNS, you should also set WINS caching and time-out values. The caching value determines how long records returned from WINS are valid. The time-out value determines how long DNS should wait for a response from WINS before timing out and returning an error. These values are set for both forward and reverse WINS lookups.
Here we demonstrate how to set the timeout value for a cache DNS server.

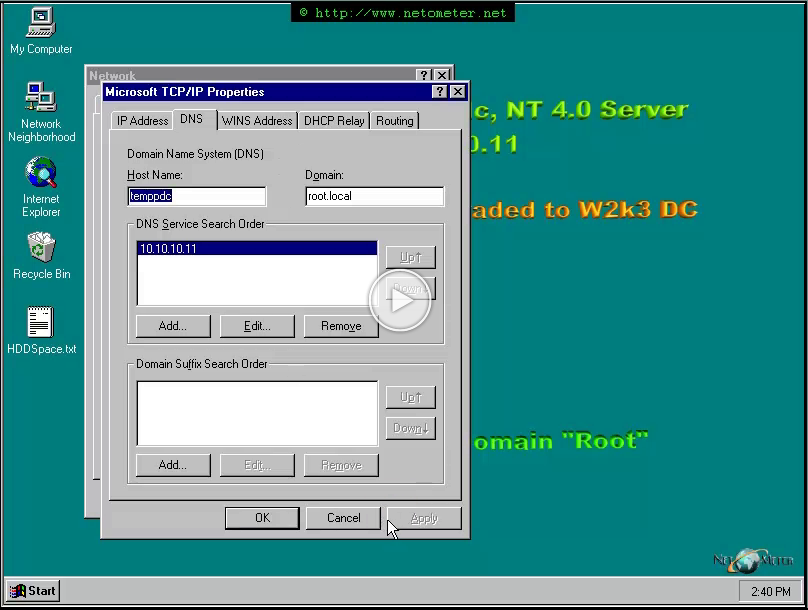
Overview (Diagram 1)
First let’s take a look at the logical network configuration.
There are two NT 4.0 domains with a Two-way trust established between them. There is a PDC, BDC and an Exchange 5.5 server at each domain.
One Exchange 5.5 Organization spans both domains and includes two Exchange 5.5 Sites. We will upgrade Domain -Root by upgrading an NT 4.0 PDC to Windows 2003 and running DCPROMO on it. Though it is going to be easier to upgrade the existing server – PDC/10.10.10.10, we will follow a more elaborate approach.
We will introduce a temporary NT 4.0 BDC – TempPDC (Diagram 2 – the PLAN ), promote it to a PDC, and perform the in-place Windows 2003 upgrade on it. That approach is more convenient because we will not interrupt the users, and they will be able to connect to PDC as usual during the upgrade. It is a safer approach too.
We will keep a BDC shut down, and use it to switch back to the original configuration, in case the upgrade fails.
As the name suggests, TempPDC is going to be used temporary as a DC. It is a very good idea to have a clean installed Server 2003 as a main DC in your forest. Therefore we will add a clean installed Server 2003 – RootDC/10.10.10.15, in the domain, run DCPROMO on it and transfer the FSMO roles to it.
Demoting and removing TempPDC will follow, then moving the resources and services from PDC – like WINS and DHCP.
We will demonstrate how to move and convert the existing WINS and DHCP databases and reconfigure the services so everything will be transparent to the users.
Last, we will delete PDC and BDC, and raise Domain and Forest functional levels.
[/vstep]
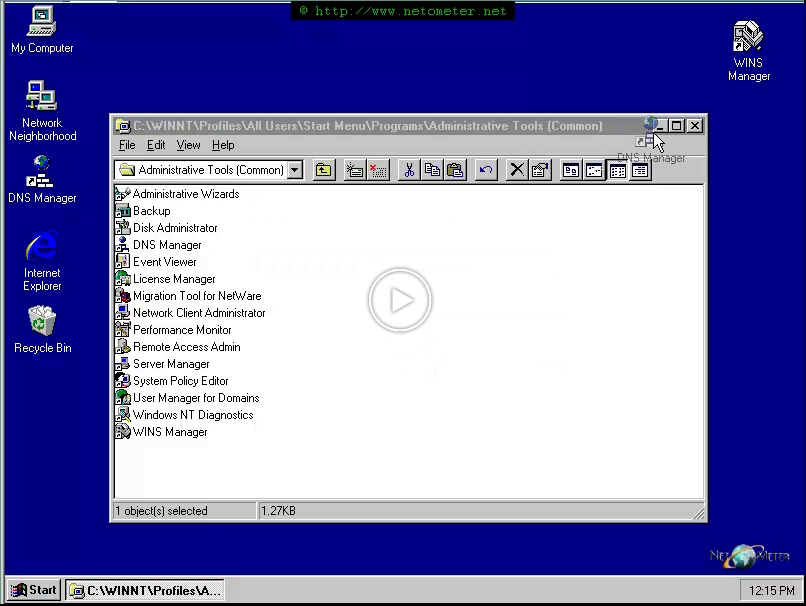
Here is demonstrated how to create shortcuts on the Windows NT4.0 desktop.
A suitable approach which is valid not only for NT4.0 is creating Shortcut Keys for the most often used Apps.
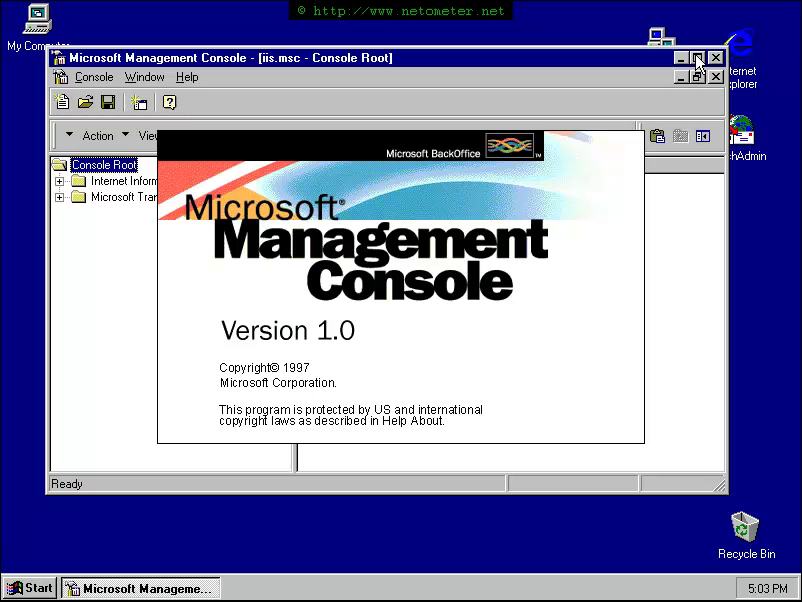
Sometimes you have to change the default settings of OWA for Exchange 5.5 server. If you have problems restoring the default OWA settings, you might find the following tutorial helpful.
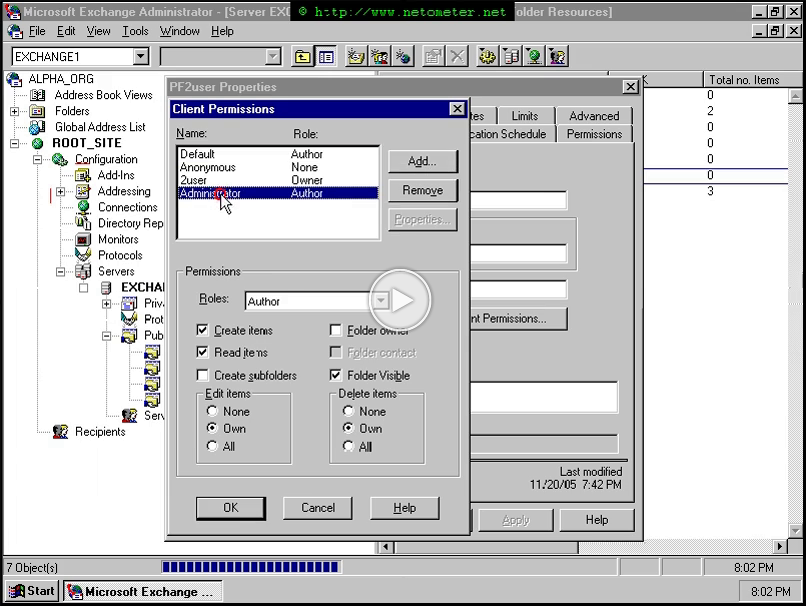
Here we demonstrate how to change Public Folder Permissions through Exchange 5.5 Administrator.
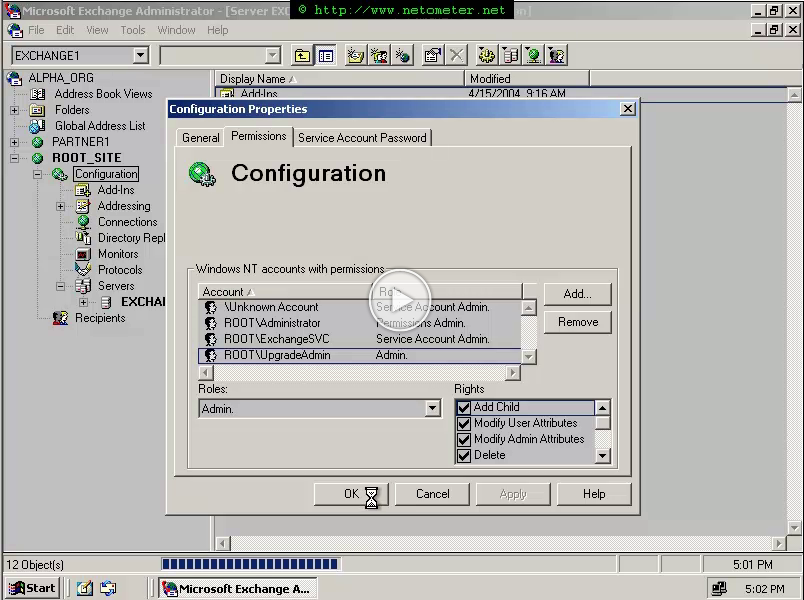
Here you can see how to delegate Exchange 5.5 admin rights to a user account.
A few words about the Scalix installation and configuration which you can see bellow:
We are assuming that you have no experience or very little experience with Linux, so you are going to see in details all of the steps necessary to install and have running Scalix. We’ll try to perform most of the steps using the GUI (Graphical User Interface), and I hope that the experienced users who prefer CLI (Command Line Interface) will bear with this approach.
First, we are going to install RHEL 4 (Red Hat Enterprise Linux) and then we will proceed with the Scalix server installation.
Scalix server is running on a Linux platform as mentioned, and it can operate as a standalone server. It has its own Directory services (SYSTEM, USERLIST and FREEBUSY) and in many cases that is enough for the company which implements it. Of course you can have more than one Scalix servers in the enterprise with different directory synchronization topologies or configure Scalix server clustering.
This tutorial is the first part of a series of videos for the installation and integration of Scalix server in a corporate environment.
You can see here the Step by Step video for the initial installation of Scalix server .
IMPORTANT:
Here is a list of the software that you need and the steps how to get it:
1. Register and request Scalix Enterprise Edition software:
https://www.scalix.com/downloads/index.html
When you receive the confirmation e-mail for your evaluation, download the two files:
– Software for Red Hat: scalix-core-intel-redhat-10.0.0.tar.gz
– Enterprise Extensions: scalix-entext-10.0.0.tar.gz
2. Register and download RHEL 4 ES with a free 30-day evaluation subscription from:
https://www.redhat.com/en_us/USA/rhel/details/eval/
You have to activate your evaluation subscription when you receive the eval e-mail from Red Hat in order to be able to download RHEL ES 4. Make sure that you download the RHEL ISO images for the latest Red Hat Enterprise Linux ES 4 Update. Each update release is a complete, functional version of the operating system and does not require previous releases.
3. Download J2SE SDK – RPM in self-extracting file: j2sdk-1_4_2_xx-linux-i586-rpm.bin from:
https://java.sun.com/j2se/1.4.2/download.html
NOTES:
1. It might take up to two days until you receive the confirmation e-mail with the download instructions from Scalix.
2. Downloading the RHEL ISO images might also be time consuming.
3. When you extract scalix-core-intel-redhat-10.0.0.tar.gz you will find the following guides in the folder documentation:
– scalix_installation_guide.pdf
– scalix_administration_guide.pdf
– scalix_administration_console_guide.pdf
That’s in case you are browsing the guides’ section of the knowledgebase at www.scalix.com and wonder where the full guides are. These are a couple of hundred pages which contain detailed and practical answers to most of the questions that you might have.
In one of our screencasts – How to Install a Self Signed Certificate in IIS6 we have demonstrated the use of the SelfSSL.exe tool from IIS6 resource kit.
We get a lot of questions about creating a Self-Signed Certificate in Windows Server 2008. There is an option in IIS7 Manager to create a self-signed certificate, and this is an easy, and straightforward way to generate a certificate yourself. The problem with this approach is that you can not specify the name of the web site, because when you generate the certificate – IIS7 Manager uses the default FQDN of the server. In most cases, the FQDN by which the server is accessed, is different from the real name of the server. For example, the server used in the following Screencast is MBR-2k8.netometer.com, and the Web Site which is hosted on it, is accessed as https://test.netometer.com. When you generate a Self-Signed Certificate in IIS7 Manager, it is issued to Mbr-2k8.netometer.com. Step2 demonstrates the process of creating a Self-Signed Certificate in IIS7 Manager, and assigning it to your web site.
We get a lot of questions, whether you can use SelfSSL.exe and generate a Self-Signed Certificate in IIS7. In step3, we demonstrate how to use SelfSSL.exe to generate and assign a certificate, using the correct name of the web site – test.netometer.com. In addition we import it, and add the issuer to the root of the trusted certificate authorities, so you do not get a warning every time you open the web site.
Here you can see how to restrict OWA access at the user level through ADUC (Active Directory Users and Computers).
In the below screencast we demonstrate how to restrict OWA access at the user level through ADUC (Active Directory Users and Computers).