

Adding a trusted certificate is one of the Getting Started tasks in Small Business Server 2011.
As a matter of fact, you get automatically a self-issued certificate when you run the Set Up Internet Address wizard in Getting Started tasks. It contains the SBS Internet name as Common Name (CN) and is issued by the SBS Certificate Authority (CA). This certificate is not trusted by remote clients, as the issuer is not in the list of trusted root authorities. As a result, the remote clients cannot use Outlook Anywhere, or establish a terminal session to the SBS and workstations on the LAN using the Terminal Services Gateway. In addition, they get the annoying pop-up warning stating that the SSL certificate is not valid.
A workaround for this problem is to distribute and apply the Install Certificate package to remote clients, which adds the Small Business Server CA to their list of trusted CA. Alternatively, you can install a trusted SSL certificate issued by a trusted Public CA.
And here we come to the topic of our Screencast – installing StartSSL free, one year, class one certificate. The prices of trusted certificates vary, depending on the type of certificate you are requesting and the issuing Certificate Authority. If you are running an ecommerce site, paying a significant amount of money for SSL certificate makes sense. On the other hand, if you just need encryption of the web traffic and protection from eavesdropping, as is the case with Small Business server, choosing a free SSL certificate is the most suitable choice.
Of course, you will find a lot of certificates on the Internet, offered as free certificates, while they are just a trial (one month or three months). The StartSSL free certificate is a real gem, and finding it is not the easiest thing among the plethora of offers.
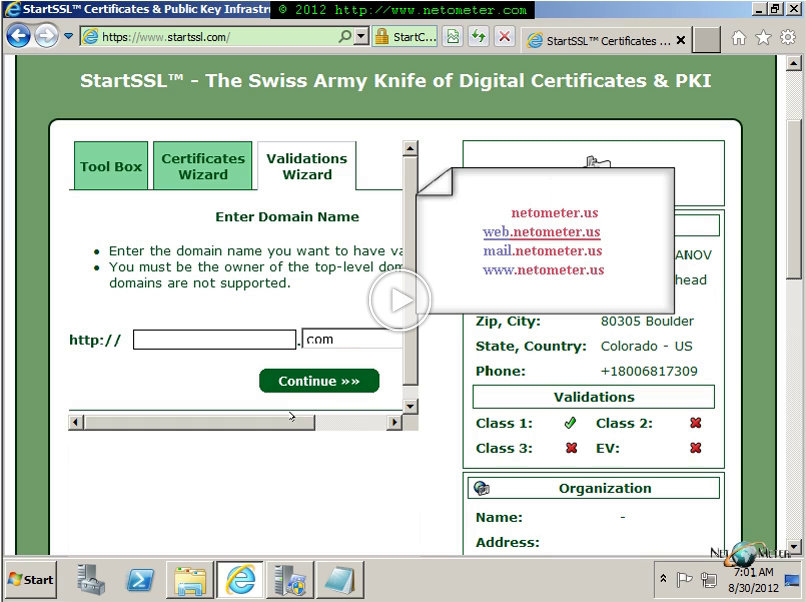
In this step-by-step Screencast we demonstrate how to generate a Certificate signing request in SBS 2011, how to create a StartSSL account, and how to install and test your trusted SSL certificate. As you will see, the validation process at StartSSl web site is fully automated; only the ownership of the domain name, resp. email address are validated, hence the free certificate availability. There is a catch, though. Revoking a StartSSL certificate is not free. For example, if your server crashes, and you need to reissue the certificate, first you have to send a revocation request for the existing one. That process requires human intervention and StartSSL charges a moderate price for it (currently $24.99 USD). Backing up your SSL certificate in this case is crucial, and we demonstrate in our last step, how to export it (with your private key) to a PFX file.