

Exchange Server 2010 SP2 has come a long way since the initial RTM release, and proved to be a robust and reliable messaging platform. Besides bringing new features and fixing bugs, each Service Pack has made the process of installation and transitioning to Exchange 2010 easier and smoother.
Having in mind that many organizations are still running Exchange 2007, it comes as no surprise that transitioning from Exchange 2007 to Exchange 2010 SP2 is one of the hot upgrades nowadays.
To be able to keep our detailed step-by-step approach and make it easier for you to follow, we have split this screencast in two parts.
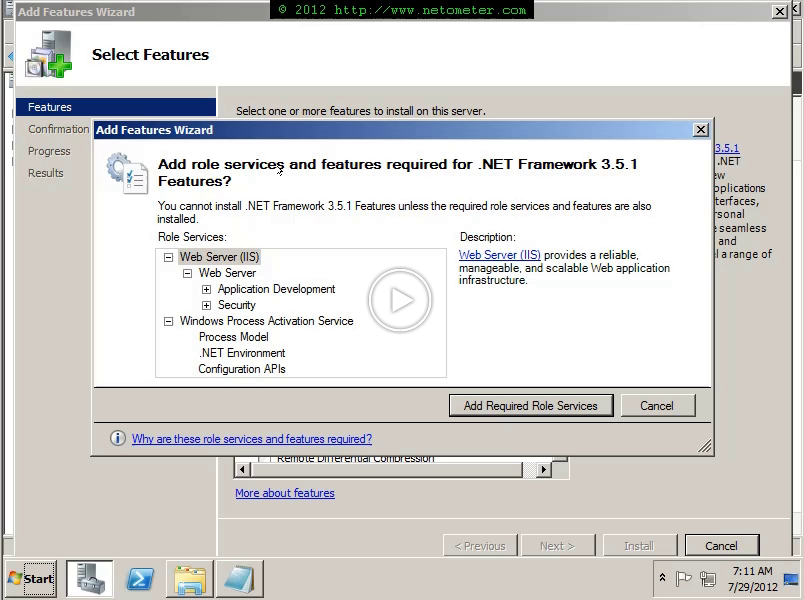
In Part 1, we focus our attention on the required health checks and preparation of Active Directory and Exchange 2007 organization. You will see a typical Exchange 2010 SP2 installation on a member server running Windows Server 2008 R2 SP1 (SP1 ended the nightmare of searching required updates and patches). Strategically, after completing part 1, you will have an Exchange 2010 SP server introduced into your existing Exchange 2007 Organization, without interrupting and changing the mail flow. As you will find out, Exchange setup does not ask to create Public Folder database when you are adding Exchange 2010 to an existing Exchange 2007 organization, even if you have Public Folders in use. Creating a public folder Database, renaming the existing Mailbox database and relocating database and log files to different volumes are some of the tasks which we demonstrate in Part 1.
For your convenience, we have published the text file with the commands which we are using in the Screencast, and the links to the required software packages here  .
.