

We have already demonstrated the installation of Exchange Server 2010:
How to Install Exchange 2010 on Windows Server 2008 R2
In this Screencast, we will demonstrate Exchange 2010 initial configuration. We are using a single Exchange Server 2010 typical installation in a scenario without Exchange 2010 Edge Server. You will see the post installation steps that you have to go through to make your server functional. These steps are required because out of the box a typical Exchange Server 2010 installation:
â— is unable to receive e-mails from the Internet – anonymous SMTP connections are dropped, and that’s how most e-mail servers will send e-mails to your Exchange Server.
â— does not configure any explicit Send Connectors, and is unable to send e-mails to the Internet.
â— the default e-mail address policy and accepted domain are using the forest root FQDN (Fully Qualified Domain Name). In many cases, the external (e-mail) domain name which a company uses is different from the one used for Active Directory. It is also possible that you need to be able to accept e-mails for more than one e-mail domains.
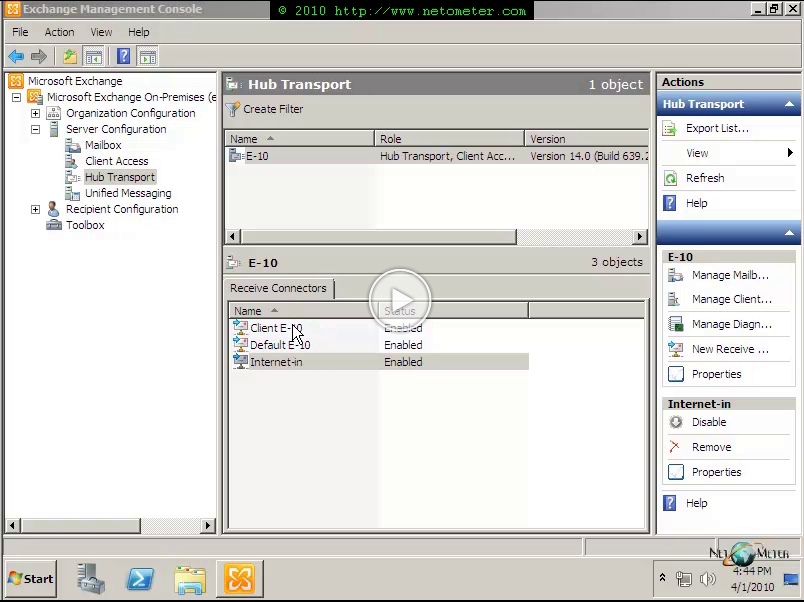
As you will see, a lot of our attention will be focused on working with Exchange 2010 SMTP connectors. Send and Receive Connectors can be created:
â— implicitly – computed from the system topology (you cannot view or change these connectors).
â— automatically – during the Edge Subscription process.
â— explicitly – manually created by Administrator.
As we are not using Edge server in our scenario, we will create manually Internet Send and Internet Receive Connectors, and we will set them to use our Exchange 2010 Server Public FQDN.
Every organization that sends and receives e-mails should have a valid postmaster address (according to RFC 5321), and it is not set by default in Exchange Server 2010. We will show you an easy way to check and configure external postmaster address, using the GUI – Exchange Management Console.
Following the Steps outlined bellow, you will have your Exchange Server 2010 up and ready to send and receive e-mails using the e-mail domain that you need.