

Note: Plan P – keeping your web site and DNS zone at your current hosting provider is demonstrated here.
One of the tasks which you have to perform after you subscribe to Office 365 is adding a DNS domain. Of course, you can continue using indefinitely the default domain – customname.onmicrosoft.com, provided by Microsoft without any problem. The downside of keeping the default domain is that the company email addresses will have to use it too (e.g., user@customname.onmicrosoft.com), and the Sharepoint teamsite will be – customname.sharepoint.com.
There is a pretty good chance that you are already using or just own a domain name (e.g., yourbusiness.com) or you are planning to buy a domain, which describes better your business.
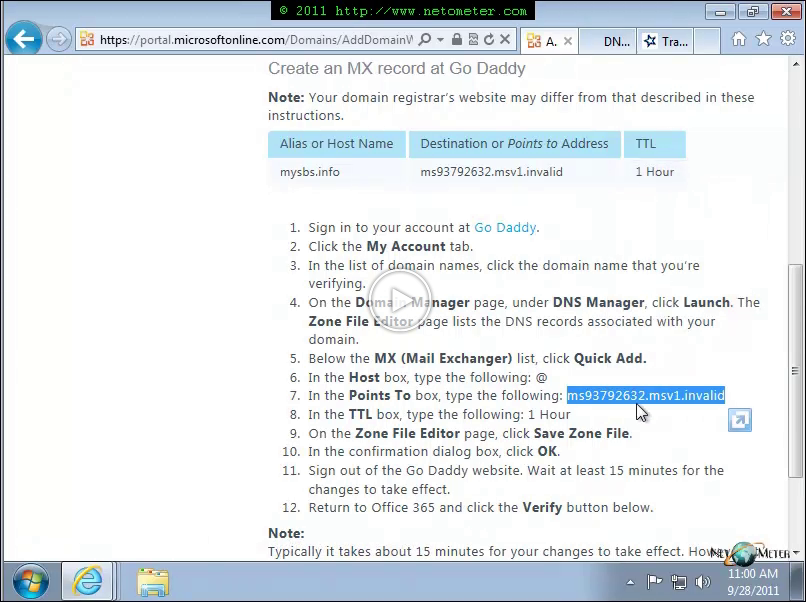
In this Screencast we will demonstrate how to add a Domain to Office 365 in plan P3. There are two methods to verify your domain – adding a TXT record and adding an MX record, and we demonstrate both of them. As you will see, P plans provide the option to point the Name Servers of your domain to Microsoft’s DNS servers and use the so called Fully Redelegated DNS zone. Effectively, this means that you are switching the administration of the DNS zone to Microsoft, and the required DNS records will be created automatically for you. In addition, if in the future new services are added to your plan, the required DNS records will be created again, automatically.
To keep things simple, we will demonstrate how to create manually the required DNS records (i.e., manage yourself the DNS zone), as in the case with E plans, in a separate Screencast.