

Part 1 of this Screencast is available here.
In the second part of this screencast, we complete the Exchange 2013 to Exchange 2019 migration process. While the focus of the first part was installing prerequisites and introducing the new Exchange 2019 server to the existing Exchange organization, in this part, we perform the actual switch of the mailflow and migration of the available resources to the new Exchange 2019 server.
To ensure a systematic and well-organized migration, we have structured the process into seven distinct steps as follows:
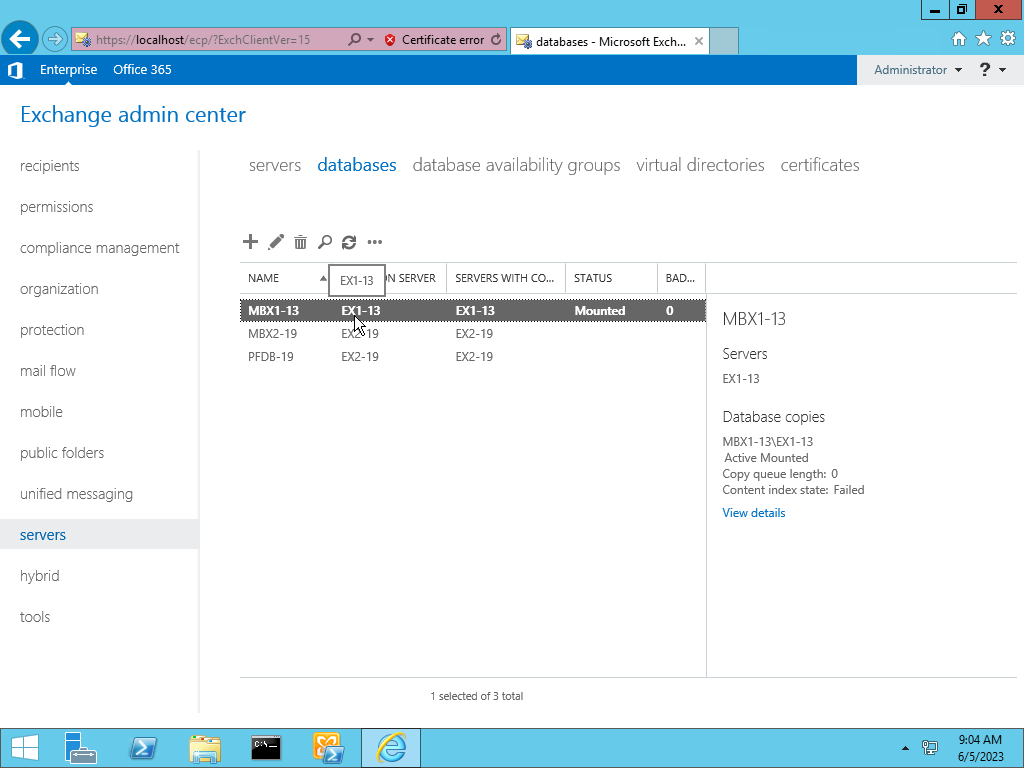
– Creation of a dedicated Public Folder Database and relocation of the associated database and log files to the preconfigured volumes prepared in the first Part.
– Configuration and preparation of the Connectors, including the seamless switch of mailflow from the old system to the new Exchange 2019 server.
– Presentation of various approaches for mailbox migration, along with a comprehensive discussion of their respective advantages and disadvantages. This step also involves the migration of Arbitration and Discovery Search Mailboxes.
– Organizing of user mailboxes into batches and their subsequent migration to the Exchange 2019 database.
– Moving the Public Folders. In this screencast, we demonstrate the quick migration scenario and do not create a secondary hierarchy.
– Activation of MAPI over HTTP, a critical feature for enabling robust connectivity with Exchange 2019.
– Decommissioning of the Exchange 2013 server, marking the conclusion of the migration process.
By following these logically arranged steps, you will be able to navigate the Exchange 2013 to Exchange 2019 migration smoothly and efficiently.
For your convenience, we have published the text file with our project plan and the commands that we are using in the Screencast here  .
.