

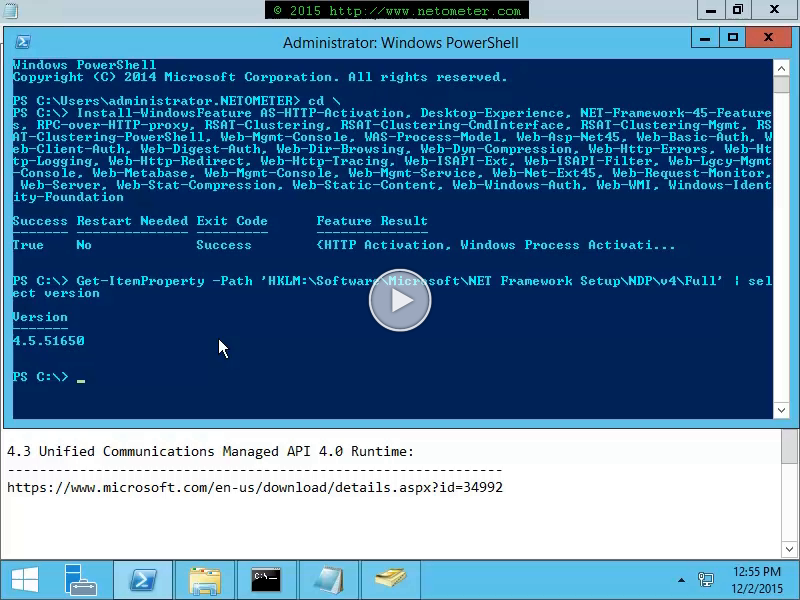
In this step-by-step screencast, we demonstrate how to install Exchange 2016 on Windows Server 2012 R2. Active Directory plays a fundamental part in the Microsoft Exchange server functionality; hence, starting with an Active Directory and DNS servers health check is crucial for a successful implementation in production. In our demo, we are dealing with a single domain/single forest configuration, but the demonstrated approach is applicable to a multiple domain environment as well. Once we confirm that we are dealing with a healthy AD configuration and we cover the Exchange 2016 directory server requirements, we proceed with extending the schema and preparing the AD. Even though the Exchange setup wizard checks and prepares automatically Active Directory, performing this manually allows you to detect and resolve problems in advance, before you proceed with the actual Exchange installation.
Next, we prepare the server and perform the actual Exchange 2016 installation, followed by a validation and testing of the new Exchange 2016 server.
Finally, we demonstrate how to prepare dedicated volumes for the Exchange DB and logs (the Exchange setup wizard doesn’t offer the option to choose a location for the database and log files). According to the Exchange 2016 Preferred Architecture, these volumes need to be formatted with Resilient File System (ReFS) with the integrity feature disabled – the catch here is that you need to perform this in PowerShell, as the GUI doesn’t allow you to disable the ReFS integrity feature. Once we have the dedicated volumes in place, we rename and move the DB and logs to their corresponding volumes.
For your convenience, we have published the text file with the commands we are using in the Screencast here  .
.