

The self-signed certificate which is generated during Exchange 2010 setup has several major flaws:
-It uses the short NetBIOS name of Exchange Client Access server as a Common Name (CN). Fig 1![]()
-It includes only Exchange NetBIOS and internal FQDN (Fully Qualified Domain name) as Subject Alternative Names (SAN). Fig 2![]()
-It is not trusted by the clients.
This affects mainly the remote clients, as installing the certificate in their Trusted Root certificates store does not resolve the problem – Exchange 2010 external host name is not included as a SAN. As a result:
– Remote clients get a security warning when accessing Outlook Web App (OWA).
– Outlook Anywhere is not working.
This certificate is considered as a temporary solution and it is recommended to replace it as soon as possible. We have already demonstrated how to install GoDaddy Multiple Domain/UCC SSL certificate and how to renew an expired one in Exchange 2010. Buying a commercial multiple domain certificate doesn’t make a lot of sense when you configure a test network or if you have just a handful of remote clients.
In this Screencast, we will demonstrate how to generate and install a self-signed Multiple Domain SSL certificate in Exchange 2010. The Self-signed certificate issues discussed above will be addressed by:
– Configuring Exchange 2010 external host name as the Common Name. Fig 3![]()
– Adding the required Subject Alternative Names (ex. autodiscover.yourdomain.com). Fig 4![]()
– Creating a Group Policy and adding the certificate as a trusted root certificate to all domain clients.
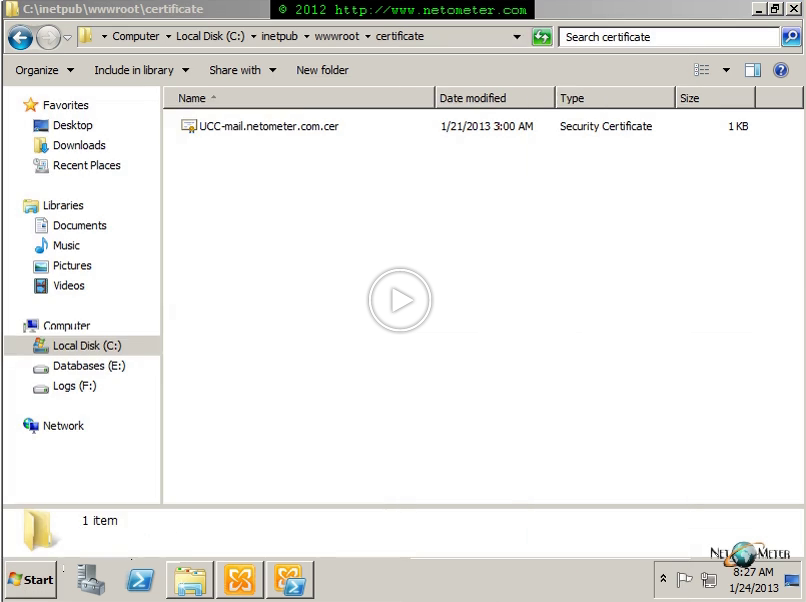
– Publishing the Self-signed Multiple Domain Certificate with its public key on the Web server running Exchange OWA, where remote clients are able to download it and install it in their local certificate store.
Even if you have a commercial UCC, which is about to expire or is expired (as it is in our demo), you can consider installing a self-signed one as a temporary (or permanent – depending on your configuration) solution.
For your convenience, we have published the text file with the commands which we are using in the Screencast here  .
.