

This is an updated version of our existing Screencast How to Renew Exchange 2010 SSL Certificate.
The need for this update arises from the new Baseline Requirements![]()
 for the Issuance and Management of Publicly-Trusted Certificates, adopted by CA/Browser Forum
 (includes over 30 CA members and major browser vendors: Microsoft, Apple, Mozilla, Google, Opera):
– CA SHALL NOT issue a certificate with an Expiry Date later than 1 November 2015 with a SAN or Subject Common Name field containing a Reserved IP Address or Internal Server Name.
– Effective 1 October 2016, CAs SHALL revoke all unexpired Certificates whose SAN or Subject Common Name field contains a Reserved IP Address or Internal Server Name.
Quite often, the company’s Internal (Active Directory) and Public Domain Names are different. By default, Exchange setup configures and uses the Internal Exchange 2010 server’s name in the virtual directories URL. If that name uses a non routable domain suffix (ex .local), you need to reconsider the way you request/renew Exchange 2010 Multiple Domain certificates. So far, the whole process was simplified significantly just by adding the Exchange 2010 internal name in the Subject Alternative Names (SAN) field. The new requirements (the latest version is BR v 1.1.6) and more specifically the fact that you should avoid using Internal Server names in the certificate add a layer of complexity.
In the updated version of our Screencast, we address these requirements by:
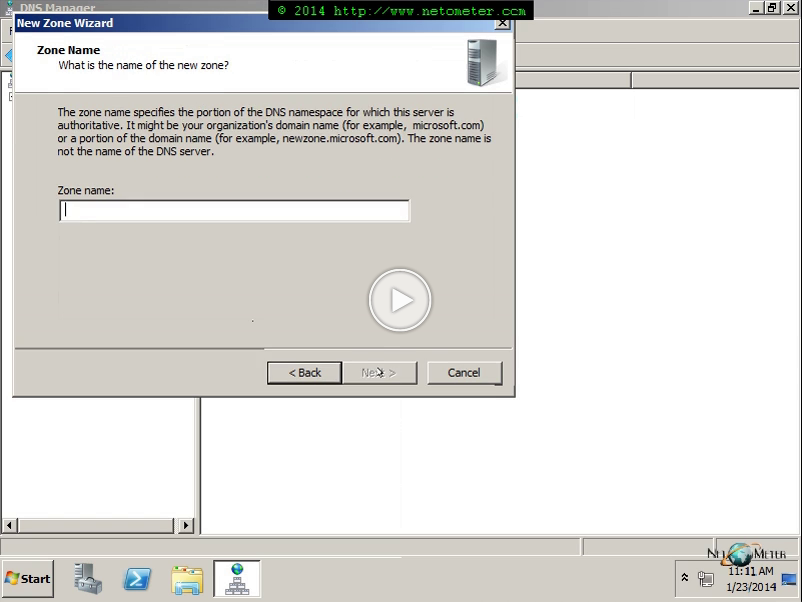
– Configuring Split-Brain DNS or Pin-Point DNS zones on the local network. We demonstrate both approaches, so you can choose the one that fits better your needs.
– Modifying the Exchange 2010 internal URL
– Requesting and installing a GoDaddy Multiple Domain certificate (UCC) which doesn’t use our Internal Server’s name.
For your convenience, we have published the text file with our project plan and commands that we are using in the Screencast here  .
.