

Microsoft Scale-out File Server (SoFS) is one of the remarkable new features introduced in Server 2012 and further improved in Server 2012 R2. The interest towards SoFS deployment is high, and that comes as no surprise, considering the fact that companies are accepting virtualization as the de facto standard and the corresponding need for highly available/high performance scalable storage.
Speaking of storage, undoubtedly, that is one of the key components you need to have in place for a successful Scale-out File Server deployment. Most of the SoFS guides assume that highly available storage is already installed and configured. Alternatively, you see SoFS deployments with a single Storage Space server behind the Active-Active cluster nodes, which doesn’t make a lot of sense as it still contains a single point of failure (the Storage Server) and just adds an extra layer of complexity to your design.
In our step-by-step screencast, we start with installing and configuring the storage – StarWind Virtual SAN v8. It provides the highly available storage that we need for SoFS, combined with great performance. As you will see in the Screencast, you can configure Layer 1 cache (on RAM) and Layer 2 cache (on SSD) for the Cluster Shared Volumes. As you are probably aware, hosting multiple Virtual Machines on a Cluster Shared Volume creates the so called I/O blender – a huge number of random I/O operations that results into a serious performance degradation of the storage system. The Log Structured File System (LSFS) introduced by StarWind v8 addresses this issue by coalescing the random I/O into a sequential stream.
Once we have the storage in place, we proceed with deploying Microsoft Scale-out file server cluster. In our demo, we configure a two-node cluster for highly available Application Storage – HyperV VM, SQL server. While Microsoft supports up to eight nodes in a Scale-Out File Server cluster, you would normally choose a deployment of 2 to 4 nodes per cluster to get the desired combination of high availability, performance, and scalability.
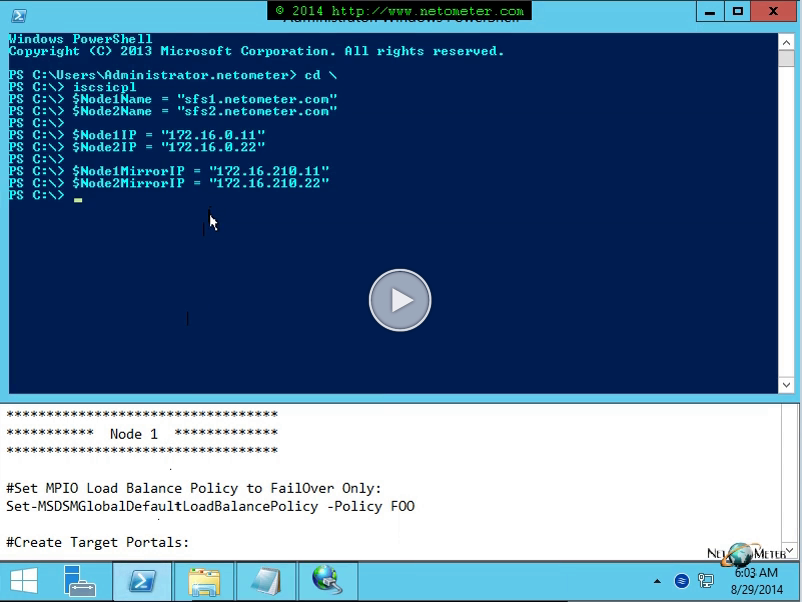
For your convenience, we provide the text file with our project plan and commands that we are using in the screencast here  .
.