

We have covered a lot of scenarios with certificates in our Screencasts, but one particular scenario has been missing so far – using email certificates. Email communication is still critical for business, but unfortunately it remains vulnerable to security flaws. Email spoofing and SMTP messages sent in plaintext are typical examples. Despite all efforts to keep systems and networks secure and protected, it is not uncommon to see credentials and passwords sent in plaintext via emails; messages pretending to be sent from our bank or trusted partners appear daily in our mailbox.
In this Screencast, we demonstrate how to request and install a personal email certificate
Fig.1 ![]()

Fig.1 Comodo Email Certificate
and how to digitally sign and encrypt emails with it.
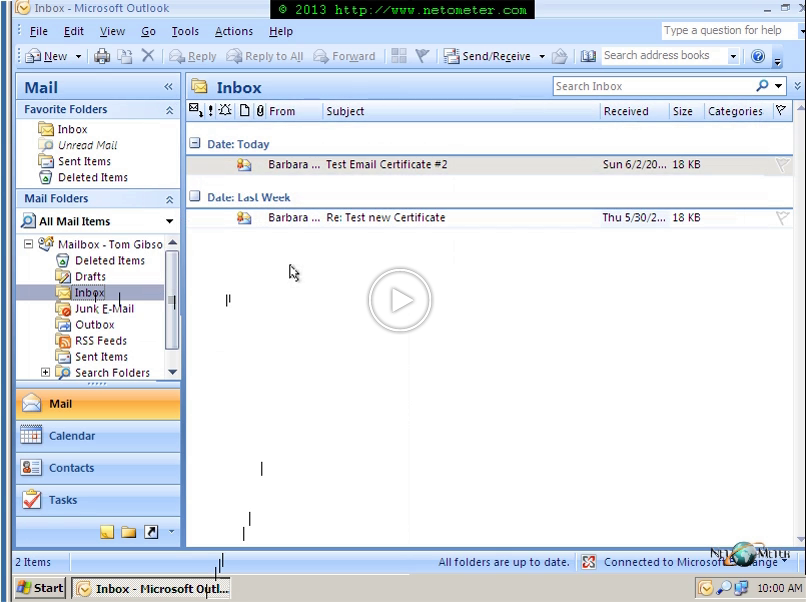
Fig.2 ![]()

Fig.2 Digitally Signed Email
A valid digital signature establishes the following assurances:
– Authenticity – the signer is who they claim to be.
– Integrity – the content has not been changed since it was digitally signed.
– Non-repudiation – the signer cannot at a later time deny having signed the email.
Encrypting an email converts the message and its attachments from plaintext into ciphertext.
Fig.3 ![]()

Fig.3 Encrypted Email
Only the intended recipient, possessing the corresponding private key, can decipher the email. Sending and viewing encrypted email requires that both sender and recipient share their public keys, and we demonstrate two approaches:
– Adding manually the recipients Public key to your contacts.
– Publishing you Public Key to GAL (Global Address List) and making it automatically available to all internal recipients.
Backing up your personal certificate and keeping it in a safe location is crucial. We demonstrate how to export your certificate to PFX file, and how to install it on different OS and email clients.