

One of the challenges which Office 365, Plan P users face is adding a domain name to their account. We have already demonstrated how to add a Domain to Office 365 – Plan P (Fully Redelegated DNS Zone)
While fully redelegating your DNS zone is the easiest approach, it is not always the most suitable one, for P Plan Users. Let’s take for example the following scenarios :
-You are under certain restrictions enforced by your Domain Registrar (e.g., .no or .dk domains)
-You have specific technical needs which require that you keep your current DNS and Web Site hosting provider(s)
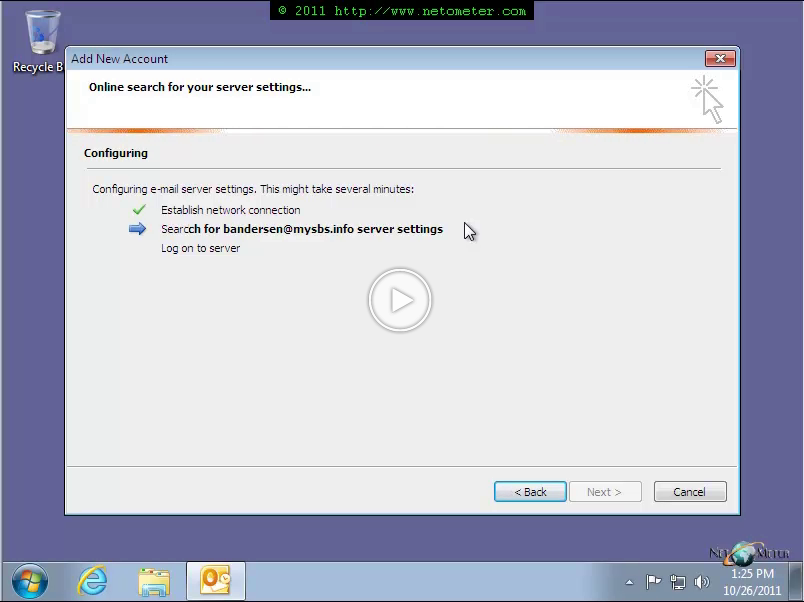
In this Screencast, we will demonstrate how to add a domain to Office 365 – Plan P, when using partial redelegation. Effectively, you keep your DNS zone at your current DNS hosting provider. This approach requires that you create manually the Office 365 DNS records in your DNS zone.
Another important detail that we focus your attention on is the web address which you can assign to SharePoint online. P plans are restricted to just a single Site Collection, and the choice for a web address is quite limited. You can use the default web address ending on SharePoint.com or www.yourdomain.com (where yourdomain.com is a domain which you have added to your account). Often, the alias www is already in use by your existing web site, hosted at a provider of your choice. In such case, it is understandable if you decide to keep the existing configuration unchanged, and we demonstrate this scenario in our Screencast. And if you find sharepoint.com address inconvenient for your SharePoint Online services, we demonstrate a simple workaround. Using it, you can create shortcuts to Office 365 SharePoint sites, OWA etc., based on your existing web site address.
For your convenience, we have published the redirection code that we are using in the Screencast.