
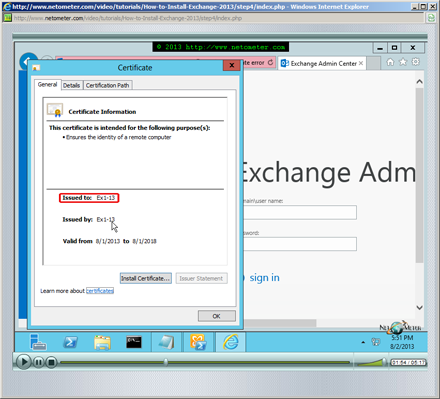
In this Screencast we demonstrate how to perform Exchange Server 2013 initial configuration. We start with non-critical tasks, like getting rid of the certificate warning in Exchange Admin Center and creating a new Exchange toolbar. Then, we go through the process of adding Accepted Domains, configuring e-mail address policies, and creating connectors.
Every organization that sends and receives e-mails should have a valid postmaster address (according to RFC 5321). It is quite common to have different internal and public domain names. By default, the External Postmaster address field is blank which effectively sets the postmaster’s address to use the default (internal) accepted domain, and we configure it manually to use our public domain name.
One of the important tasks in Exchange 2013 initial configuration is creating mailboxes for existing users. Exchange Admin Center does not provide an option to bulk create mailboxes for existing users in Active Directory. We demonstrate an easy way to automate this task in Exchange Management Shell.
Tweet #Exchange2013 Follow @netometer
- (Updated) How to Renew Exchange 2010 Multiple Domain Certificate – GoDaddy UCC
- Exchange 2013 – Custom Receive HubTransport Connector Problem
- How to Bulk Create Mailboxes in Exchange 2013
- How to Install Exchange 2013