
Being constantly improved and updated with new features, the Office 365 Admin Center is quite often the preferred management interface. Sooner or later, you stumble upon tasks that require performing bulk operations – like creating users, licensing them based on CSV file, or simply populating/editing the users’ data.
While some of these bulk operations can be performed in the graphical interface (depending on the Office 365 Plan), connecting to Office 365 and using remote PowerShell will get the job done faster and, surprisingly, easier.
If you are doing this for the first time, finding and installing the right packages for your system (especially if you are running Windows 7) is the first task. Some of the packages are updated and replaced with a new version which comes, of course, with a new name – ex. “Microsoft Azure Active Directory Module for Windows PowerShell”, while most of the instructions that you will find are referring to “Microsoft Online Services Module for Windows PowerShell”.
For your convenience, we’ve demonstrated how to automate the whole process by editing your PowerShell profile and placing the required commands in it. In our demo, we are trying to keep things as simple as possible. You will not find one-liners, and you can easily edit the scripts (which can be downloaded from our site) and modify them according to your needs.
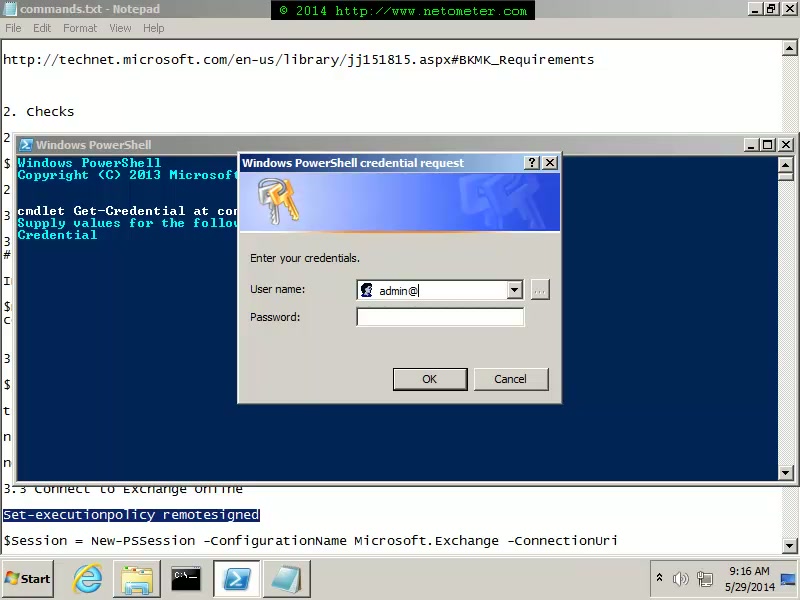
[raw]In this Screencast ![]() , we demonstrate how to connect to Office 365 using remote PowerShell, and how to bulk create, license, and modify users.[/raw]
, we demonstrate how to connect to Office 365 using remote PowerShell, and how to bulk create, license, and modify users.[/raw]
- How to Connect to Exchange Online Using Remote PowerShell. Adding a Domain and Bulk Modifying Email Addresses.
- How to Upgrade Exchange 2007 to Exchange 2013: Part2
- Exchange 2013 Initial Configuration
- How to Install and Configure Exchange 2013 Edge Server. Adding SpamHaus and Barracuda as IP Block List Providers.
Tweet #Office365 Follow @netometer
Stay tuned on NetoMeter – subscribe to NetoMeter RSS.
Dean